Part 3: Adding metadata
In this part, you configure the metadata for the contract.
Contract metadata provides details about the contract itself, including its name, description, and what standards it follows. This information lets off-chain applications like wallets and block explorers show information about the contract. Contracts can also store other information in metadata, including the code for off-chain views and information about error messages.
Contracts that manage tokens also store metadata about those tokens, including descriptions of the tokens and links to preview media.
Generally, contracts store their metadata and token metadata off-chain and include only a link to it in their storage. Storing the metadata off-chain saves space and makes it easier for off-chain applications to access it.
Storing metadata with IPFS
Many contracts store metadata with the InterPlanetary File System (IPFS) protocol. This protocol stores files in a decentralized peer-to-peer network and indexes them by their hash. That way, users can access media by its hash, and the hash allows them to verify that the files have not changed. As long as one IPFS user has a copy of the data, they can re-upload it to IPFS with the same hash so it is seamlessly available again.
Therefore, uploading data to IPFS doesn't mean that it will be available forever; at least one user must keep a copy of it. Instructing an IPFS node to keep a copy of a file is called pinning the file. SmartPy provides a function that uploads data to IPFS via the Pinata service and instructs Pinata to pin it.
Tutorial contract
The completed contract that you create in this part is at part_3_complete.py.
Getting a Pinata API key
SmartPy test scenarios can upload files to IPFS with Pinata, so to follow this part of the tutorial, you need a free account on https://www.pinata.cloud and an API key.
Follow these steps to create a Pinata API key:
-
Create a free Pinata account at https://app.pinata.cloud/developers/api-keys.
-
Go to the API Keys tab and click New Key.
-
On the Create New API Key page, expand API Endpoint Access and enable the
pinFileToIPFSpermission, as in this picture: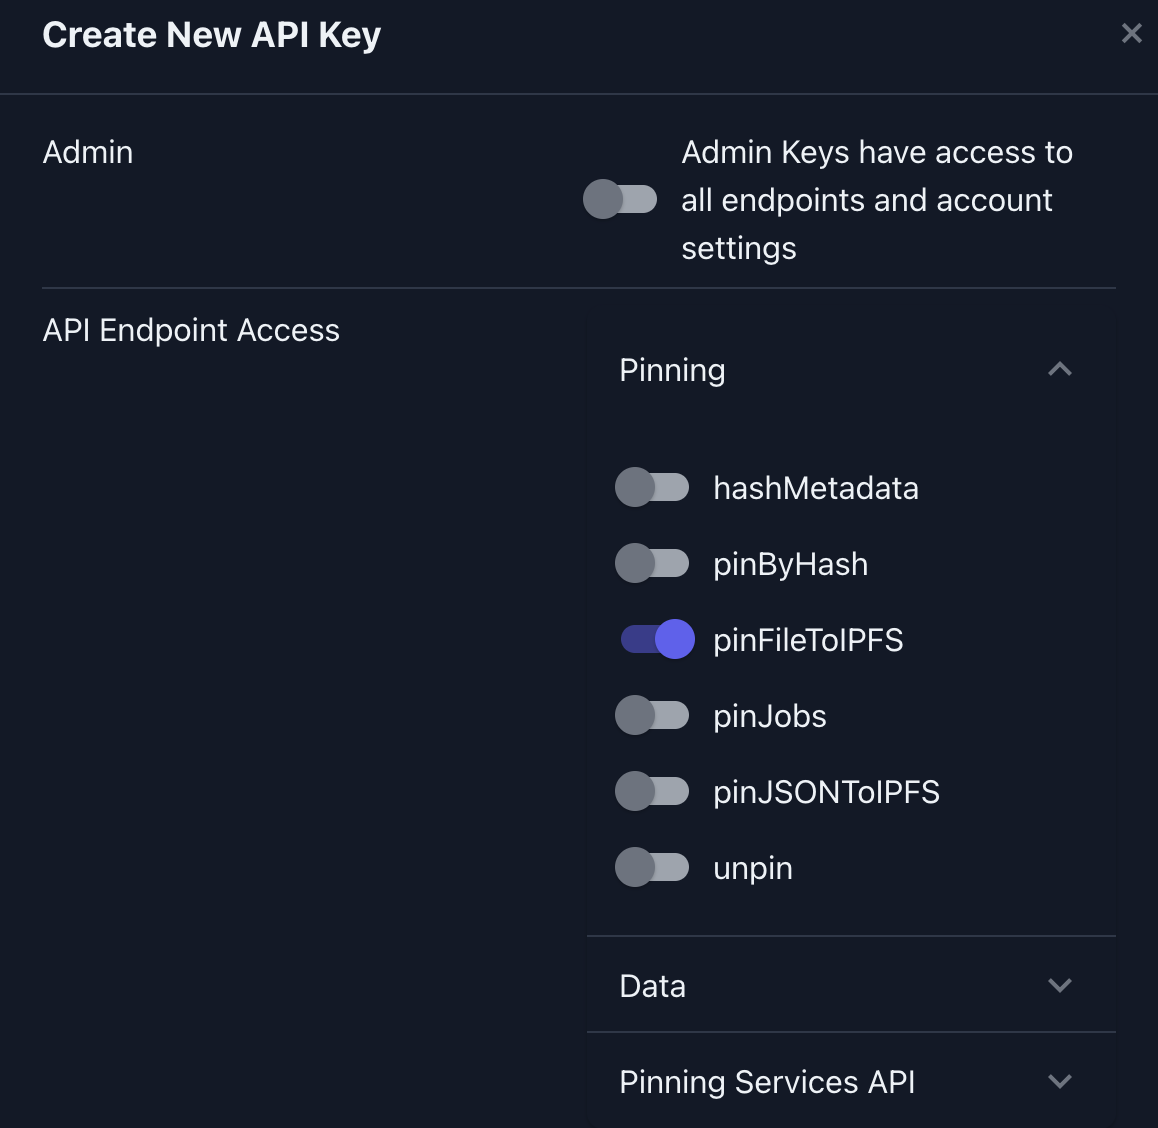
-
In the Key Name field, give the key a name, such as "My Key."
-
Click Create Key.
The API Key Info window shows the API key and secret, which you must copy immediately, because it is not shown again.
-
Copy the API Key and API Secret fields and save the values on your computer. You need these values in the next section.
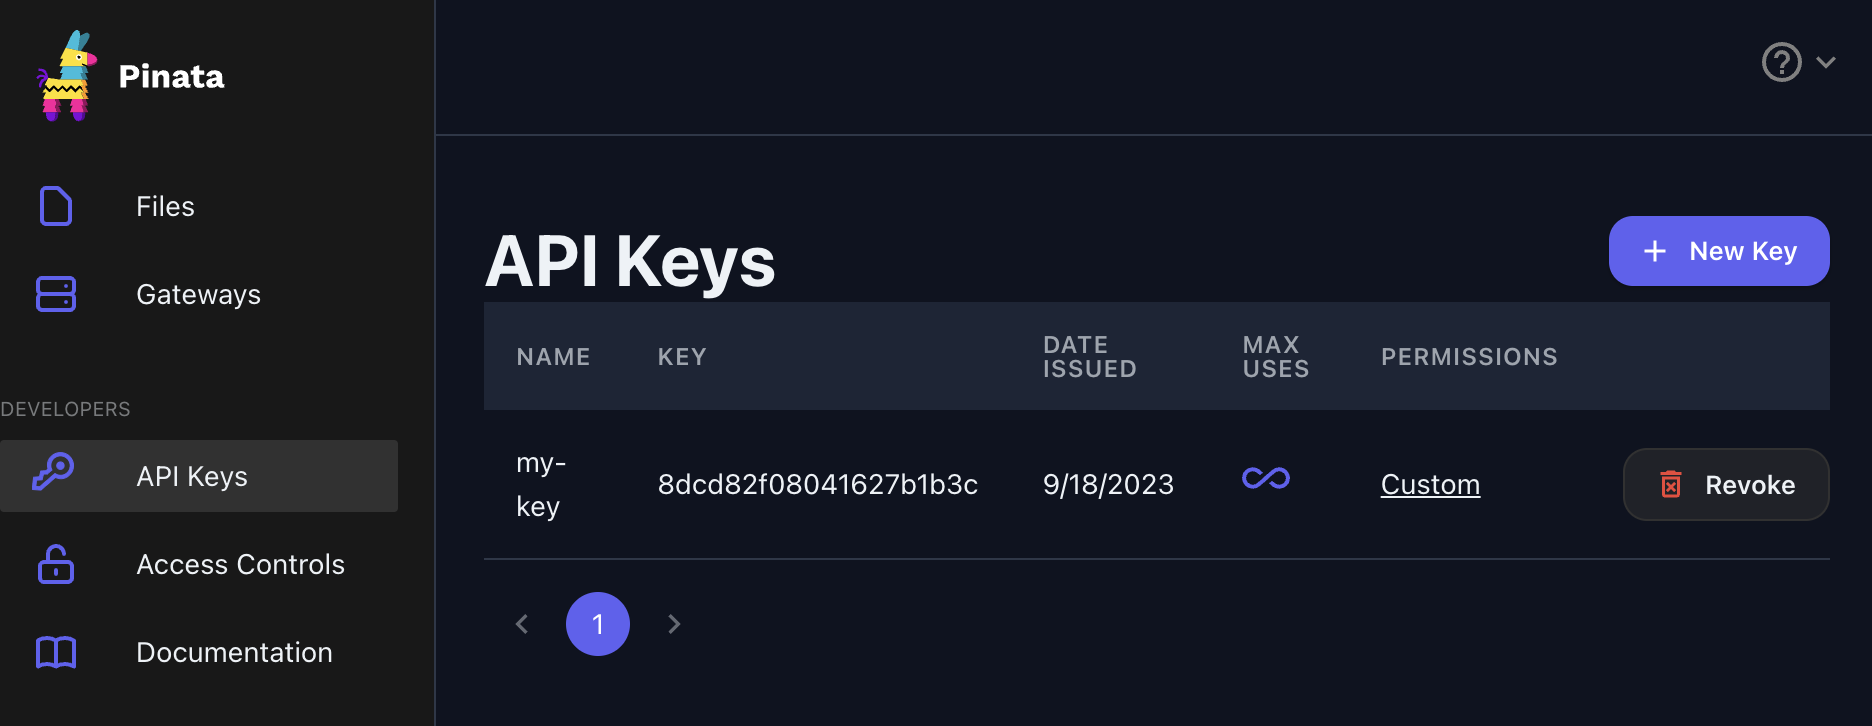
You can see the new API key on the API Keys tab:
Uploading metadata
The SmartPy sp.pin_on_ipfs function uploads metadata to IPFS via your Pinata account and "pins" it to ensure that it remains available until you remove it.
In this section, you add code to use this function to upload and pin contract metadata to IPFS when the test scenario runs.
It is still advisable to save a local copy of your metadata, just as you would with any upload service.
-
After the code that instantiates the contract in the test scenario, use the
sp.create_tzip16_metadatafunction to create a metadata object that is compatible with the TZIP-16 standard for contract metadata:# Build contract metadata content
contract_metadata = sp.create_tzip16_metadata(
name="My FA2 fungible token contract",
description="This is an FA2 fungible token contract using SmartPy.",
version="1.0.0",
license_name="CC-BY-SA",
license_details="Creative Commons Attribution Share Alike license 4.0 https://creativecommons.org/licenses/by/4.0/",
interfaces=["TZIP-012", "TZIP-016"],
authors=["SmartPy <https://smartpy.io/#contact>"],
homepage="https://smartpy.io/ide?template=fa2_lib_fungible.py",
# Optionally, upload the source code to IPFS and add the URI here
source_uri=None,
offchain_views=contract.get_offchain_views(),
)This code must come after you create the contract but before you add the contract to the scenario because it uses the
contract.get_offchain_viewsfunction to retrieve the contract's off-chain views. Off-chain views are stored in metadata, not in the contract code or storage. -
Optional: Edit the metadata fields with information about your contract.
-
Add permission information to the metadata with this code:
# Add the info specific to FA2 permissions
contract_metadata["permissions"] = {
    # The operator policy chosen:
    # owner-or-operator-transfer is the default.
    "operator": "owner-or-operator-transfer",
    # Those two options should always have these values.
    # It means that the contract doesn't use the hook mechanism.
    "receiver": "owner-no-hook",
    "sender": "owner-no-hook",
}
This metadata describes who is allowed to transfer tokens. The permissions in this code allow token owners and operators to transfer tokens. For more information about operators, see FA2 tokens.
-
Pin the metadata to IPFS and get its URI with this code:
# Upload the metadata to IPFS and get its URI
metadata_uri = sp.pin_on_ipfs(contract_metadata, api_key=None, secret_key=None) -
Update the
Nonevalues in thesp.pin_on_ipfsfunction with your Pinata API key and secret key. You can also put them in thePINATA_KEYandPINATA_SECRETenvironment variables and remove theapi_keyandsecret_keyparameters from the function call. -
Create the contract metadata and add it to the contract with this code:
# Create the metadata big map based on the IPFS URI
contract_metadata = sp.scenario_utils.metadata_of_url(metadata_uri)

# Update the scenario instance with the new metadata
contract.data.metadata = contract_metadata
This code creates a big map that has a single entry that points to the metadata URI.
-
Run the
python fa2_fungible.pycommand to compile and test your contract. Now, SmartPy uploads the metadata as part of the compilation process. -
In your Pinata account, verify that the metadata file uploaded correctly. By default, the file is named "No name set" and looks like this in your Pinata files:

You can click this file to see it and verify that the name and description at the top of the file match the name and description of your contract. The rest of the file is the code of off-chain views that the FA2 library adds automatically.
The completed contract is at part_3_complete.py.
Now when you deploy the completed contract, wallets and block explorers can show information about it.